 Save
Save My kitchen smelled like a peanut butter factory the first time I made buckeyes, and I couldn't stop grinning. A friend had brought a box of these Ohio treats to a dinner party, and I was immediately hooked by that perfect contrast—creamy, salty-sweet filling meeting a thin shell of rich chocolate. Within a week, I was hunting down a recipe and coating my fingers in melted chocolate at midnight, discovering that making these little treasures was somehow more fun than eating them.
I remember bringing three dozen buckeyes to my coworker's holiday party last December, nervous they wouldn't survive the car ride. Someone grabbed one before I'd even set the box down, and within twenty minutes, the container was empty—people were actually fighting over the last few. That moment made me realize these weren't just candy; they were an excuse for people to slow down and enjoy something made with actual care.
Ingredients
- Creamy peanut butter: Use the good stuff—the quality here really shines through since there's nothing to hide behind.
- Unsalted butter, softened: This matters more than you'd think; cold butter won't mix smoothly and you'll end up with gritty spots.
- Pure vanilla extract: A teaspoon lifts the whole filling and keeps it from tasting one-dimensional.
- Fine salt: Just a pinch, but it's your secret weapon for balancing all that sweetness.
- Powdered sugar, sifted: Sifting prevents lumps and ensures your filling stays smooth and rollable.
- Semi-sweet chocolate chips: These strike the perfect balance—not too bitter, not too sweet.
- Coconut oil or vegetable shortening: This keeps your chocolate thin and dippable without breaking the temper.
Tired of Takeout? 🥡
Get 10 meals you can make faster than delivery arrives. Seriously.
One email. No spam. Unsubscribe anytime.
Instructions
- Mix your foundation:
- Beat the peanut butter and softened butter together until they're completely combined and fluffy. This usually takes about 2 minutes with an electric mixer—you'll see it go from separated-looking to silky and unified.
- Add vanilla and salt:
- Mix these in while the butter mixture is still spinning; they'll distribute evenly this way.
- Fold in the powdered sugar:
- Add it gradually—if you dump it all in at once, you'll have a flour-like explosion on your hands. Mix until the dough comes together and resembles coarse sand, then a thick dough.
- Roll and chill:
- Scoop tablespoon-sized portions and roll them between your palms into smooth 1-inch balls, then let them sit in the fridge for at least 30 minutes. They'll firm up and become way easier to dip without falling apart.
- Melt your chocolate slowly:
- Heat the chocolate chips and coconut oil in 30-second bursts, stirring between each one. This prevents scorching and keeps your coating glossy and smooth.
- The dip and reveal:
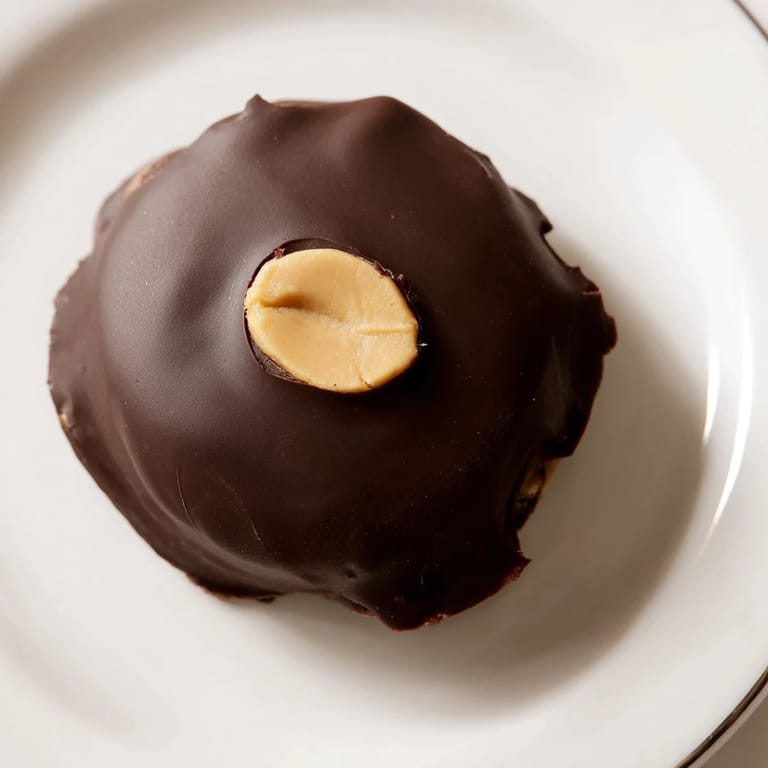
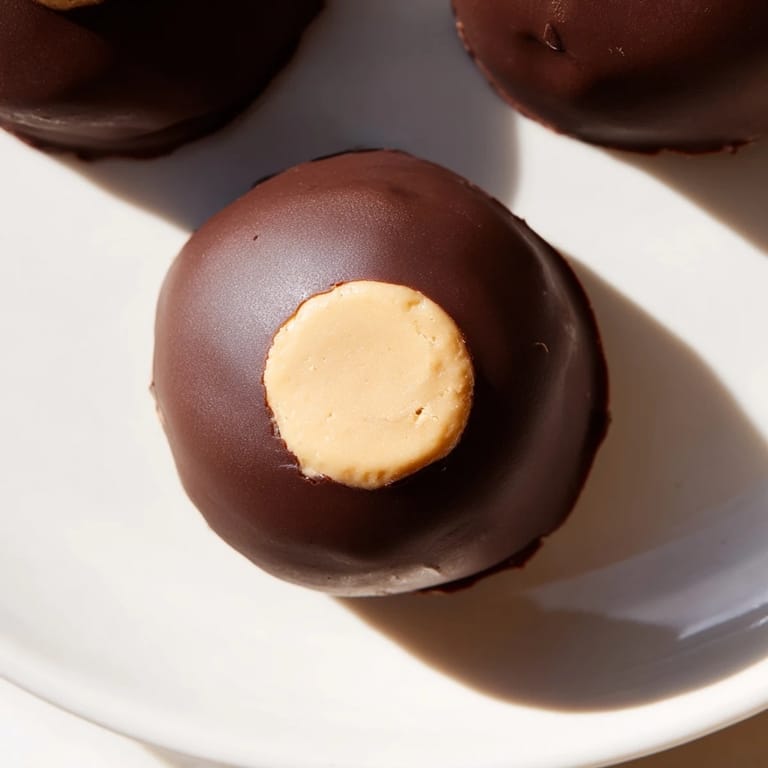
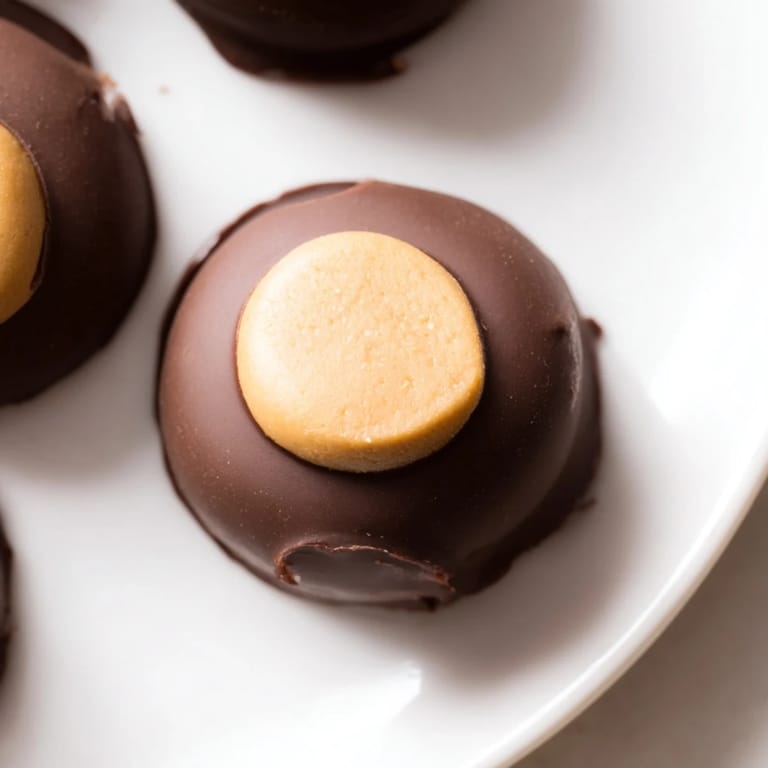
- Spear each ball with a toothpick, dip it into the chocolate until just the top circle of peanut butter shows, then set it back on your parchment paper. You're aiming for that buckeye look—chocolate surrounding everything but that telltale peanut butter circle on top.
- Set and store:
- Let them chill for about 20 minutes until the chocolate firms up, then move them to an airtight container. They'll keep for two weeks refrigerated or much longer frozen.
 Save
Save There's something deeply satisfying about holding one of these finished buckeyes in your palm—the weight of it, the slight give when you bite through the chocolate shell, that moment when the flavors hit all at once. I've made batches for every occasion since that first midnight adventure, and each time someone tries one, they get this exact same look of delighted surprise.
The Art of the Dip
Getting the dip right is less about precision and more about rhythm and confidence. I used to overthink it—holding each ball in the chocolate for exactly two seconds, worrying I'd submerge it completely. Then I realized the trick: room temperature is your enemy here, speed is your friend. A quick, decisive dip and lift works way better than hovering and hesitating. The chocolate should coat everything except that top circle, leaving it looking genuinely like the nut it's named after.
Temperature and Timing Matter
I learned this the hard way after leaving a batch out on my counter for two hours. The chocolate got soft and sticky, the filling started sweating, and everything just looked sad. Now I treat these like they need climate control—keep your kitchen cool while working, keep your filling cold before dipping, and let the chocolate set completely before stacking them. A dedicated candy thermometer isn't necessary, but knowing when your chocolate hits that just-right fluidity is the difference between buckeyes that look professional and ones that look like they've been through the dishwasher.
Customization and Storage
Once you've mastered the basic version, you can play around with the formula. Some people swear by chunky peanut butter for texture, others use a mix of dark and milk chocolate for depth, and I've experimented with a hint of espresso powder in the chocolate. Storage is genuinely impressive with these—they're forgiving in the fridge for two weeks and basically last forever in the freezer, which makes them perfect for making ahead or tucking into care packages.
- Try mixing chunky peanut butter into half your batch for a textural surprise.
- White chocolate buckeyes exist and honestly they're a fun holiday variation.
- Freeze them in a single layer on a baking sheet first, then transfer to a freezer bag to prevent them from sticking together.
 Save
Save Buckeyes are the kind of treat that makes people genuinely happy, which honestly says everything you need to know about making them. There's a reason they've stayed a holiday tradition in so many kitchens.
Common Questions
- → What is the best peanut butter to use?
Use creamy peanut butter for a smooth texture; chunky can add a delightful crunch.
- → How do I prevent the chocolate from cracking?
Coat the peanut butter balls evenly and chill thoroughly so the chocolate sets firmly without cracking.
- → Can I substitute the coconut oil?
Vegetable shortening works well as an alternative to coconut oil to help smooth the chocolate coating.
- → How long should the bites chill before dipping?
Chill the peanut butter balls for at least 30 minutes until firm for easier dipping.
- → What is the best way to store these treats?
Keep them in an airtight container refrigerated for up to two weeks or freeze for extended storage.
- → Can I use different chocolate types?
Yes, white chocolate or dark chocolate can be used for variety, though semi-sweet is traditional.