 Save
Save I discovered the magic of homemade peanut butter fudge by accident—my neighbor brought over a box of hers one holiday season, and I ate half of it before admitting how much I wanted the recipe. What struck me most was how it tasted nothing like the waxy store-bought versions I'd grown up with; it was genuinely creamy, with that perfect melt-on-your-tongue texture. That afternoon, I decided I had to learn to make it myself, and I'm glad I did because now it's become my go-to gift and my secret weapon for impressing people at potlucks.
I'll never forget the first time I made this for my sister's birthday potluck; I was nervous because I'd never made fudge before and convinced I'd mess it up somehow. When I cut into those perfectly smooth squares and passed them around, people literally asked me to make it again before I'd even left the party. Now whenever family gatherings roll around, someone inevitably texts me asking if I'm bringing my fudge—and I always am.
Ingredients
- Unsalted butter: Use real butter, not margarine—it's the backbone of the creamy texture, and you'll taste the difference immediately.
- Creamy peanut butter: Look for the smooth kind without chunks; it melts seamlessly and creates that silk-like consistency that makes this fudge special.
- Pure vanilla extract: A teaspoon of this lifts the entire flavor and prevents the fudge from tasting one-dimensional.
- Confectioners sugar, sifted: Sifting is non-negotiable here—it breaks up lumps and ensures your fudge stays smooth and velvety instead of gritty.
Tired of Takeout? 🥡
Get 10 meals you can make faster than delivery arrives. Seriously.
One email. No spam. Unsubscribe anytime.
Instructions
- Set your stage:
- Line your 8x8-inch pan with parchment paper and let it overhang on two sides—this makes lifting the finished fudge out effortless and means less scraping and cursing.
- Melt the base:
- Combine the butter and peanut butter in a medium saucepan over medium heat, stirring constantly for 3–4 minutes until they're completely smooth and integrated. You're looking for that moment when the mixture stops looking streaky and becomes uniform.
- Add the aromatics:
- Remove from heat and stir in the vanilla extract, letting the warmth carry that vanilla scent through the mixture.
- Fold in the sweetness:
- Gradually add your sifted confectioners sugar while stirring vigorously, working in stages so you don't get overwhelmed with dry sugar clouds. Keep going until the mixture is thick, smooth, and glossy.
- Pour and smooth:
- Transfer the mixture to your lined pan and use a spatula to flatten the top into an even layer. Take a moment to appreciate how beautiful it looks before it disappears into the fridge.
- Chill with patience:
- Let it sit undisturbed in the refrigerator for at least 1 hour—this is when the magic happens and the texture becomes perfectly set.
- Cut and serve:
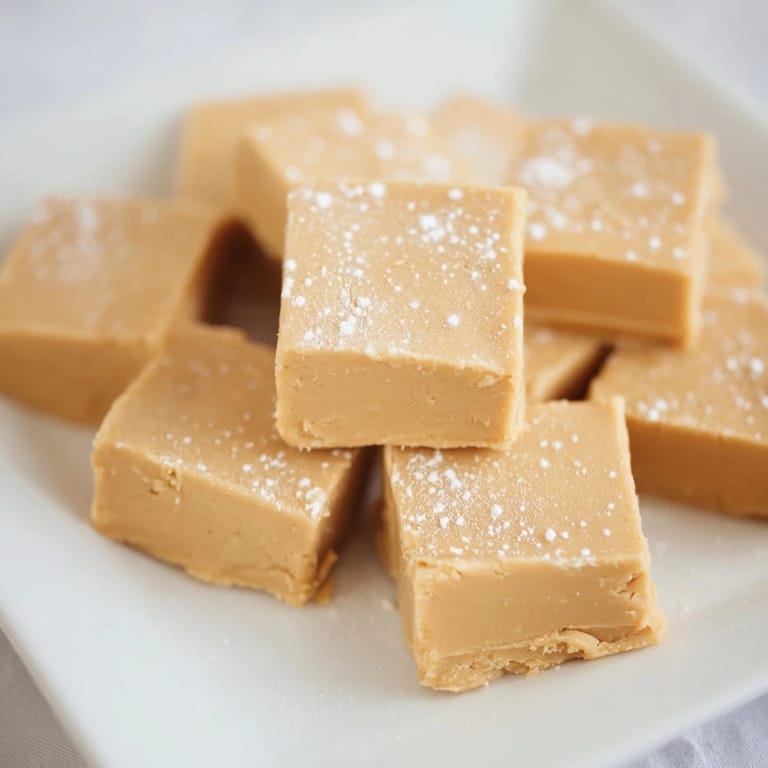
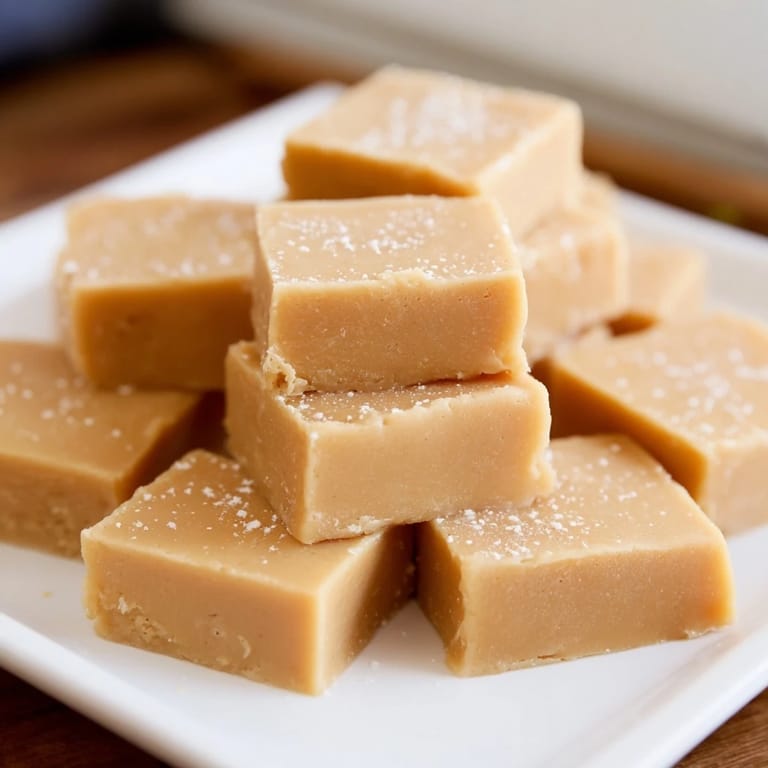
- Use the parchment overhang to lift the fudge slab out, then slice into 36 squares with a sharp knife, wiping the blade between cuts for clean edges.
 Save
Save There's something deeply satisfying about wrapping these squares in wax paper and tying them with ribbon—it turns a simple homemade candy into something that feels genuinely thoughtful. I've watched people's faces light up when they realize it's handmade, and that moment makes every minute in the kitchen worth it.
Flavor Variations to Explore
Once you master the basic recipe, you can lean into variations that suit your mood or who you're cooking for. The beauty of this fudge is how forgiving it is—you can experiment without fear of ruining a complicated dish. My personal favorite twist is swirling in melted semi-sweet chocolate before chilling, which gives you those gorgeous marbled lines and adds a sophisticated depth that people don't expect from something so simple.
Storage and Make-Ahead Magic
This fudge is perhaps the most forgiving dessert I make because it actually gets better with time and stores beautifully. I've learned to make double batches and keep them frozen, which means I always have an elegant gift ready when someone's birthday sneaks up on me or I need to contribute to a gathering at the last minute.
The Personal Touch
What makes this recipe truly special is how it invites you to make it your own and how the results feel genuinely impressive despite the minimal effort. Whether you're making it for the first time or the fiftieth, this fudge has a way of bringing people together around something small and delicious.
- If you like texture, fold in ½ cup of roasted salted peanuts right before pouring into the pan for a chunky version.
- Store in an airtight container in the refrigerator for up to 1 week, or freeze for up to 2 months and pull out as needed.
- Cut the squares slightly thicker if you want fewer pieces with more indulgence, or thinner if you're feeding a crowd.
 Save
Save This fudge reminds me that the best recipes are often the simplest ones, made beautiful by attention and care rather than complexity. Make it, share it, and watch how something so easy can bring genuine joy.
Common Questions
- → What type of peanut butter works best?
Creamy peanut butter is ideal to achieve a smooth, consistent texture in the fudge.
- → Can I add nuts for crunch?
Yes, folding in roasted salted peanuts before chilling adds a delightful crunchy contrast.
- → How long should the fudge chill?
Refrigerate for at least 1 hour until fully firm to ensure clean cutting and optimal texture.
- → Are there variations to the basic flavor?
Swirling melted semi-sweet chocolate before chilling or substituting almond butter creates different flavor profiles.
- → How should the fudge be stored?
Keep refrigerated in an airtight container for up to one week or freeze for up to two months to maintain freshness.