 Save
Save There’s something magical about the way these Mini Cheesecake Bites vanish at any gathering. The first time I made these, I had my friends over for a movie night, and the aroma of melting chocolate mingled with the buttery scent of Oreos filled my tiny kitchen. I didn't realize how quickly the entire batch would be devoured—they were a hit! All I remember is a chorus of delighted cheers each time someone took a bite. What could be better than seeing smiles all around while indulging in a sweet treat?
A few weeks later, I brought these to a potluck. As soon as I set them down on the dessert table, I watched a friend break into dance over the sight of those mini cheesecakes. There’s a certain joy in sharing something you created with others, especially when it brings such unexpected happiness!
Ingredients
- Oreo cookies: They give the crust a sweet and crunchy base that pairs beautifully with the creamy filling.
- Unsalted butter: Helps bind the crust ingredients together and adds rich flavor.
- Cream cheese: The creamy filling that makes each bite decadent and smooth.
- Granulated sugar: Sweetens the filling perfectly, balancing the tanginess of the cream cheese.
- Eggs: Holds everything together and gives the cheesecake its rich texture.
- Vanilla extract: A must-add for a lovely aroma and warmth in flavor.
- Sour cream: Adds a nice tang and creaminess that elevates the filling.
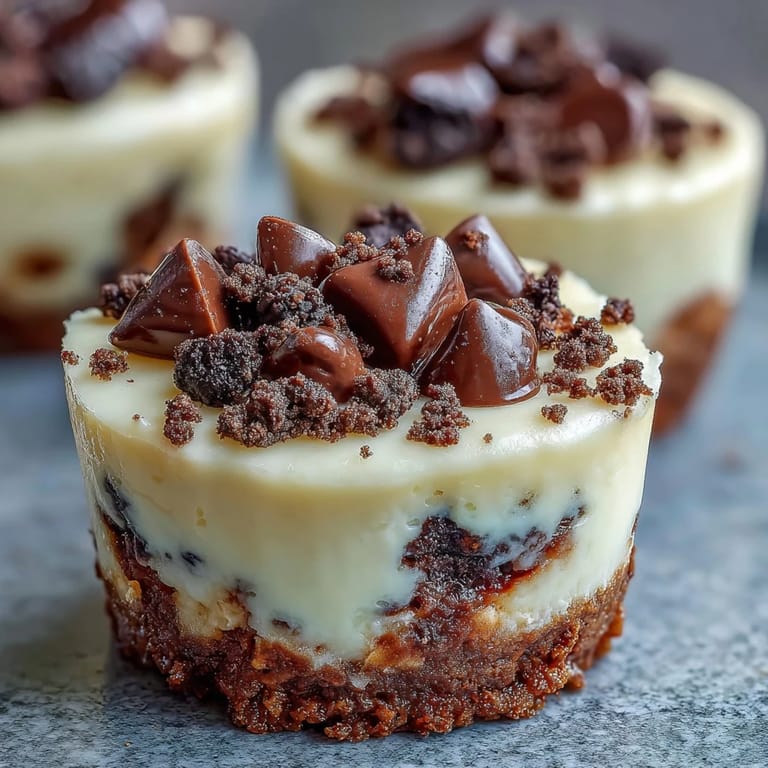
- Mini chocolate chips or chopped Oreos: A fun topping that adds a little extra sweetness and crunch.
Tired of Takeout? 🥡
Get 10 meals you can make faster than delivery arrives. Seriously.
One email. No spam. Unsubscribe anytime.
Instructions
- Get Ready:
- Preheat the oven to 325°F (160°C) and line a mini muffin tin with paper liners. The anticipation is real!
- Prepare the crust:
- In a food processor, pulse the Oreo cookies into fine crumbs and mix with melted butter until well combined. It should be a delectable sandy texture.
- Form the crusts:
- Spoon about one tablespoon of the mixture into each muffin cup and press it firmly. This part is crucial for a solid crust!
- Bake the crusts:
- Slide the muffin tin into the oven for 5 minutes and then remove it to cool. The smell is going to make your stomach rumble.
- Make the filling:
- Beat the cream cheese in a bowl until smooth, then add sugar and continue mixing until creamy. It's like magic watching it transform!
- Add eggs:
- Add eggs one by one, mixing well after each until fully incorporated. You’ll want to take a moment to savor the silky texture.
- Add flavor:
- Stir in the vanilla, sour cream, and salt until everything is combined. It’s becoming more delicious by the second!
- Fill the cups:
- Evenly spoon the cheesecake filling into each cup, nearly to the top. Don’t worry if it’s a bit full—it will fluff up as it bakes!
- Bake the bites:
- Bake for 12-14 minutes until just set and still slightly jiggly in the center. Keep a close watch to avoid over-baking!
- Cool and chill:
- Let them cool at room temperature for 30 minutes, then chill in the refrigerator for at least an hour. The wait is the hardest part!
- Top them off:
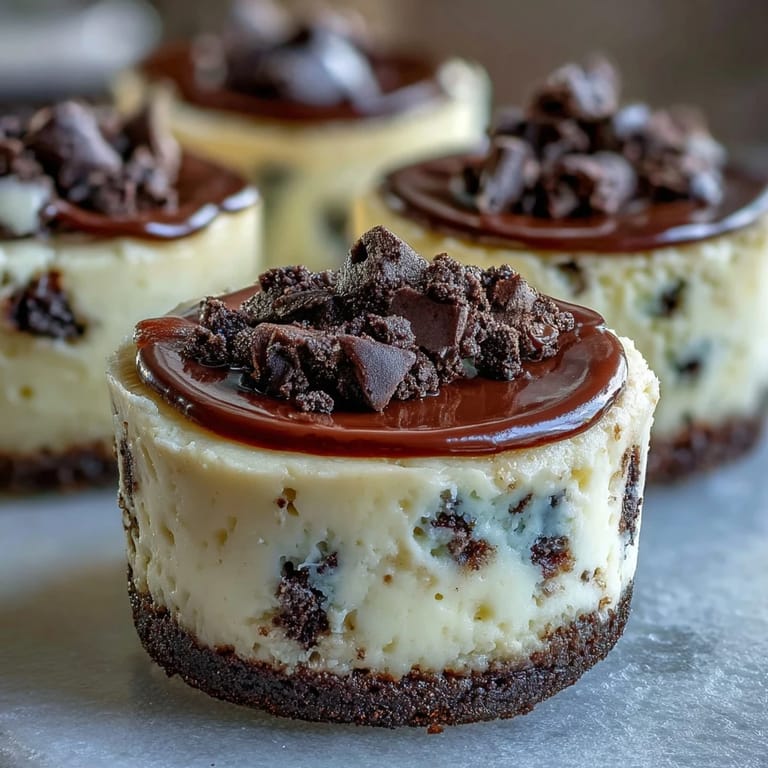
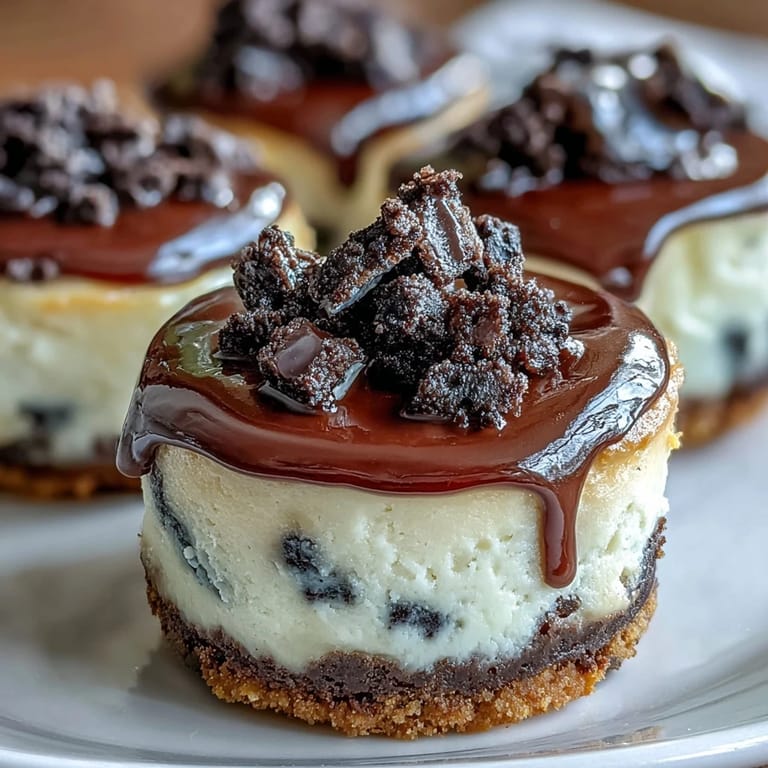
- Sprinkle with mini chocolate chips, chopped Oreos, or fresh berries if desired. You can never go wrong with a little extra flair!
 Save
Save 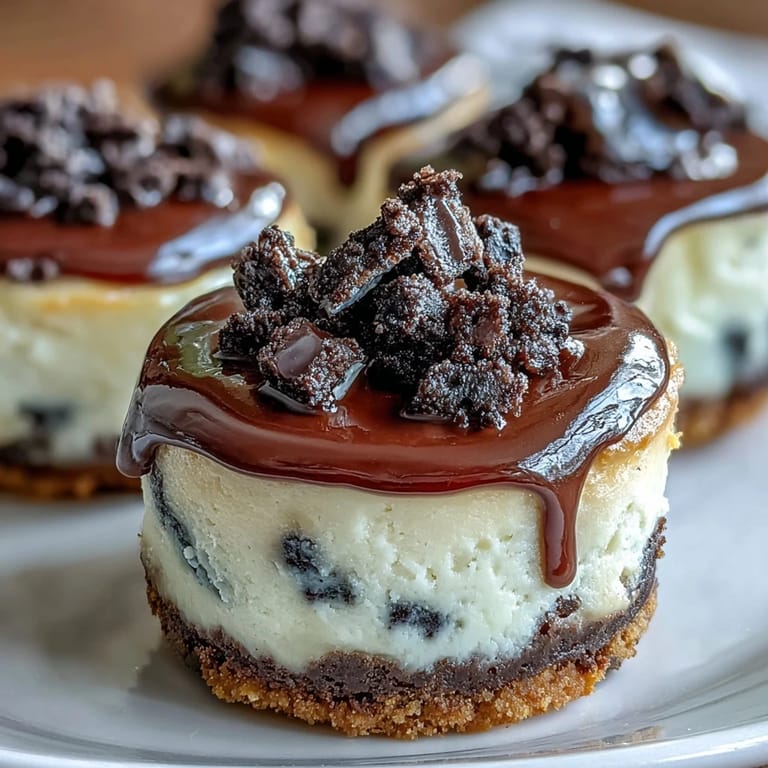 Save
Save The joy of pulling these bites from the fridge, perfectly chilled and ready to go, is unmatched. They became a favorite not just for their taste but for the fun of sharing something I made myself with friends and family.
The Flavor of the Season
Apart from their scrumptiousness, these bites are an excellent choice for various occasions, from summer BBQs to holiday parties. The versatility of toppings means they can remind you of different seasons through flavors—fresh berries in spring and perhaps a sprinkle of crushed peppermint during the winter holidays.
Make Ahead Marvels
These cheesecakes can be prepared in advance, which is a lifesaver for busy hosts. Just take them out of the freezer a few hours before your party, and they will impress your guests with their freshness and flavor.
Tips for the Perfect Cheesecake Bites
There are a few tricks to ensure success with these bites.
- Don't overmix your filling—this will help prevent cracks on the surface.
- Let them cool completely before chilling; it helps set the texture perfectly.
- Be generous with toppings; they’re the cherry on your mini masterpiece!
 Save
Save 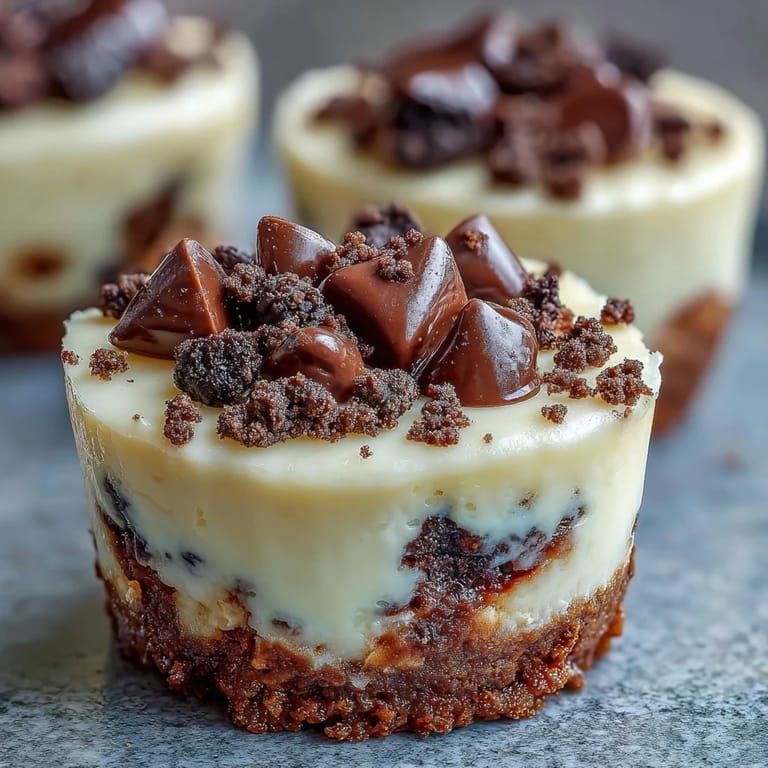 Save
Save Trust me, once you try these mini cheesecakes, you'll find yourself making them again and again. They’re a delightful treat that always brings smiles!
Common Questions
- → How do I store mini cheesecake bites?
Store mini cheesecake bites in an airtight container in the refrigerator for up to 5 days or freeze for up to 1 month.
- → Can I use a different cookie for the crust?
Yes, you can substitute Oreo cookies with any chocolate sandwich cookies or gluten-free alternatives for a different flavor.
- → What can I top my cheesecake bites with?
Top with mini chocolate chips, chopped Oreos, or fresh berries for added flavor and decoration.
- → How long should I chill the cheesecake bites?
Chill the mini cheesecakes in the refrigerator for at least 1 hour before serving for the best texture and flavor.
- → Are these cheesecake bites suitable for vegetarians?
Yes, this recipe is suitable for vegetarians as it does not contain any meat products.