 Save
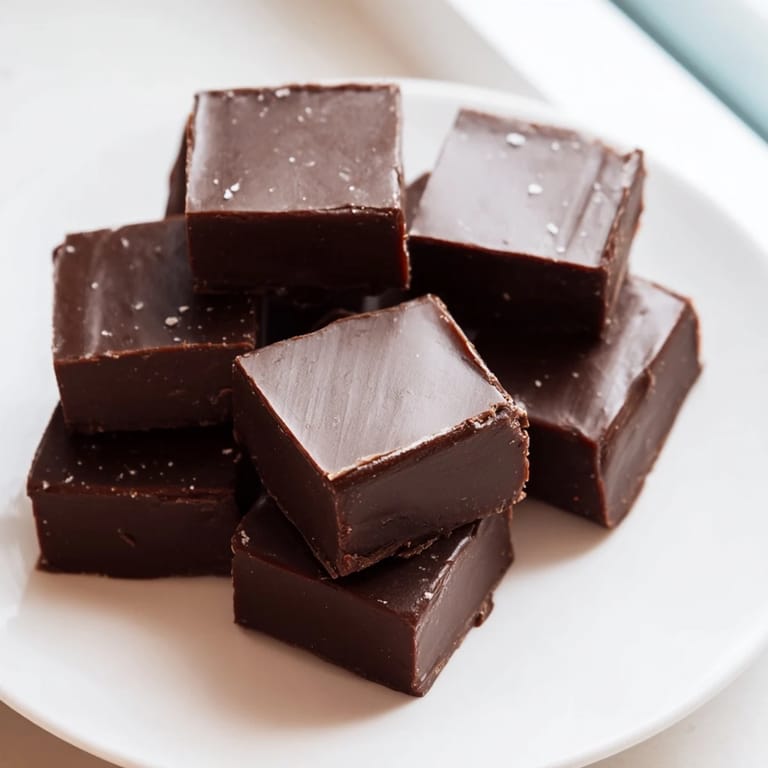
Save My neighbor once brought me a box of homemade fudge on a snowy afternoon, and I bit into one square without thinking—the chocolate melted instantly on my tongue, giving way to this impossible creaminess that made me understand why people guard their fudge recipes like secrets. That moment stuck with me, and weeks later I decided to figure out how to make it myself. It turns out fudge isn't magic; it's just sugar and butter and milk brought to exactly the right temperature, beaten into submission until it becomes something dense and luxurious. The first batch I made was too soft, the second too grainy, but somewhere between those failures I learned the rhythm—when to stir, when to stop, when to trust the thermometer. Now fudge is my go-to when I want to feel like I've done something impressive in the kitchen without actually spending hours there.
I made this for my book club one winter, tucking squares into a vintage tin my grandmother gave me, and I watched everyone pause mid-conversation the moment they tried it. One friend actually closed her eyes, and someone else asked for the recipe three separate times. That's when I realized fudge isn't just candy—it's a small, deliberate gesture that says you cared enough to stand at a stove and pay attention to temperature and timing and the exact moment to stop beating.
Ingredients
- Unsalted butter (1 cup): Use real butter—it's what gives fudge its silky, melt-in-your-mouth texture that margarine simply cannot replicate.
- Whole milk (2/3 cup): The dairy creates emulsion, keeping everything smooth; don't skip it or substitute with water.
- Granulated sugar (3 cups): This is your structure; it's what gets cooked to soft-ball stage and becomes the foundation of the fudge's texture.
- Semi-sweet chocolate chips (2 cups): Quality matters here—taste the chocolate before you buy it, because that flavor carries the whole recipe.
- Pure vanilla extract (1 tsp): Real vanilla deepens the chocolate flavor; it's worth the extra cost.
- Fine sea salt (1/4 tsp): This tiny amount heightens the chocolate flavor without making anything taste salty.
Tired of Takeout? 🥡
Get 10 meals you can make faster than delivery arrives. Seriously.
One email. No spam. Unsubscribe anytime.
Instructions
- Prepare your pan:
- Line an 8x8-inch square pan with parchment paper, leaving enough overhang on two sides so you can lift the finished fudge out cleanly later.
- Combine the base:
- Melt butter in a heavy-bottomed saucepan over medium heat, then stir in sugar and milk until everything is combined and the mixture looks like wet sand.
- Reach a boil:
- Keep stirring as the mixture comes to a boil—this dissolves all the sugar crystals and prevents crystallization later.
- Cook to soft-ball stage:
- Clip a candy thermometer to the pan and continue stirring frequently until the temperature reaches 238°F (114°C), which takes about 10–15 minutes; you're looking for that moment when a drop of mixture forms a soft, flexible ball when dropped in cold water.
- Add the chocolate:
- Remove from heat immediately and stir in chocolate, vanilla, and salt, beating vigorously until the chocolate melts completely and the mixture becomes glossy and thick—this is where the magic happens, when it transforms from syrup to fudge.
- Pour and set:
- Work quickly and pour the fudge into your prepared pan, smoothing the top with a spatula, then let it sit undisturbed at room temperature for 2 hours until it's completely firm.
- Cut and serve:
- Use the parchment overhang to lift the whole slab out, then slice into 36 squares with a sharp knife—warming the knife between cuts makes cleaner edges.
 Save
Save I remember my aunt telling me that fudge was the candy her mother made when she wanted to feel close to her own mother, passing the recipe down like a love letter. Standing in my kitchen with the thermometer clipped to the pan, watching the sugar mixture bubble and darken slightly, I finally understood what she meant—there's something about making fudge that connects you to every person who ever stood at a stove with chocolate and butter and hope.
The Soft-Ball Stage Secret
Temperature is everything with fudge, and 238°F is the Goldilocks moment—not too soft, not too hard, just right. If you cook it to 240°F, your fudge becomes firmer, almost brittle; go below 236°F and it stays too soft and sticky. The thermometer is your translator between what's happening at the molecular level and what ends up on your plate, so invest in a good one and keep it clean between uses.
Why the Beating Matters
When you beat fudge after it cools slightly, you're creating the conditions for those tiny sugar crystals to form in just the right way—not the grainy texture of failed fudge, but the smooth, almost velvet-like crumb that melts on your tongue. This is why the saucepan and the beating and the timing all matter together; fudge works when you understand it's less about ingredients and more about technique and respect for the chemistry happening in your pot.
Customizing Your Fudge
Once you master the basic recipe, fudge becomes your playground—swirl in peanut butter, fold in toasted walnuts, drizzle with sea salt before it sets, or use dark chocolate instead of semi-sweet. The base stays the same; everything else is improvisation based on what you love.
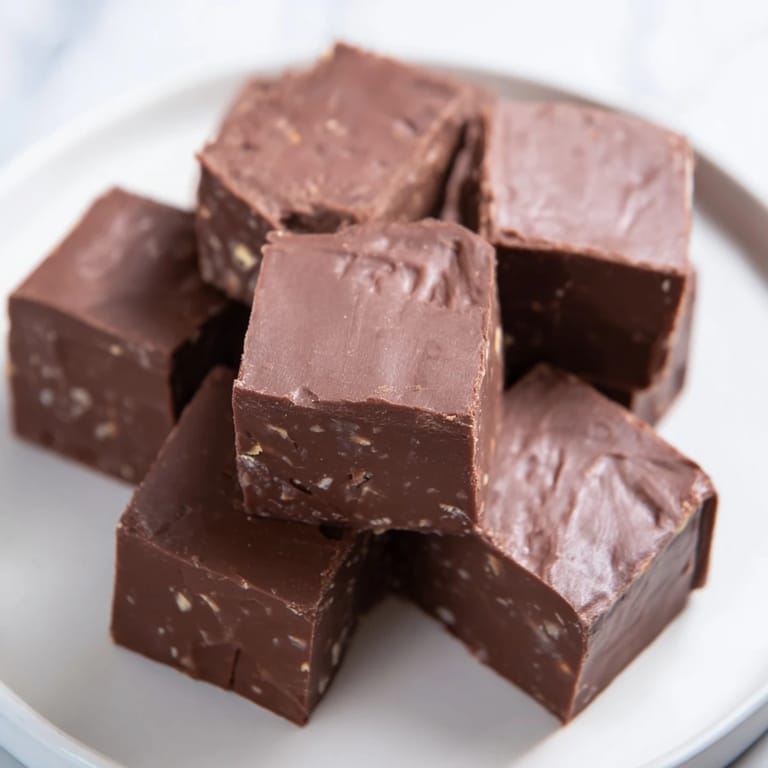
- For nutty fudge, fold in 1 cup of chopped toasted walnuts or pecans right before pouring into the pan.
- Chill for an extra hour in the refrigerator if you prefer a firmer, less creamy texture.
- Store squares in an airtight container at room temperature for up to two weeks, or freeze them for longer keeping.
 Save
Save Fudge is one of those rare things you make that feels like a small luxury in your own home, a reason to slow down and savor something rich and intentional. There's real joy in wrapping a square in wax paper and knowing someone will taste exactly what you wanted them to taste.
Common Questions
- → What is the soft-ball stage and why is it important?
The soft-ball stage occurs at 238°F (114°C) where the sugar mixture forms a soft, flexible ball when dropped in cold water. This ensures the right consistency for smooth and creamy texture.
- → Can I use different types of chocolate?
Yes, semi-sweet, milk, or dark chocolate can be used depending on your taste preference, affecting sweetness and intensity.
- → How can I add a nutty flavor?
Incorporate chopped toasted walnuts or pecans into the mixture before setting for a crunchy and rich nutty touch.
- → What tools help achieve the best results?
A candy thermometer for accurate temperature, a heavy-bottomed saucepan for even heating, and parchment-lined pan for easy removal are key tools.
- → How should I store the finished squares?
Store in an airtight container at room temperature or chill to firm up the texture; refrigeration extends freshness.